
Critical Roof Areas to Inspect After Winter
Winter’s freeze-thaw cycles, ice buildup, and snow loads stress specific roof components more than others. We focus our spring inspections on shingles, flashing details, and structural elements because these areas show damage first and create the biggest problems when overlooked.
Shingles and Underlayment Damage
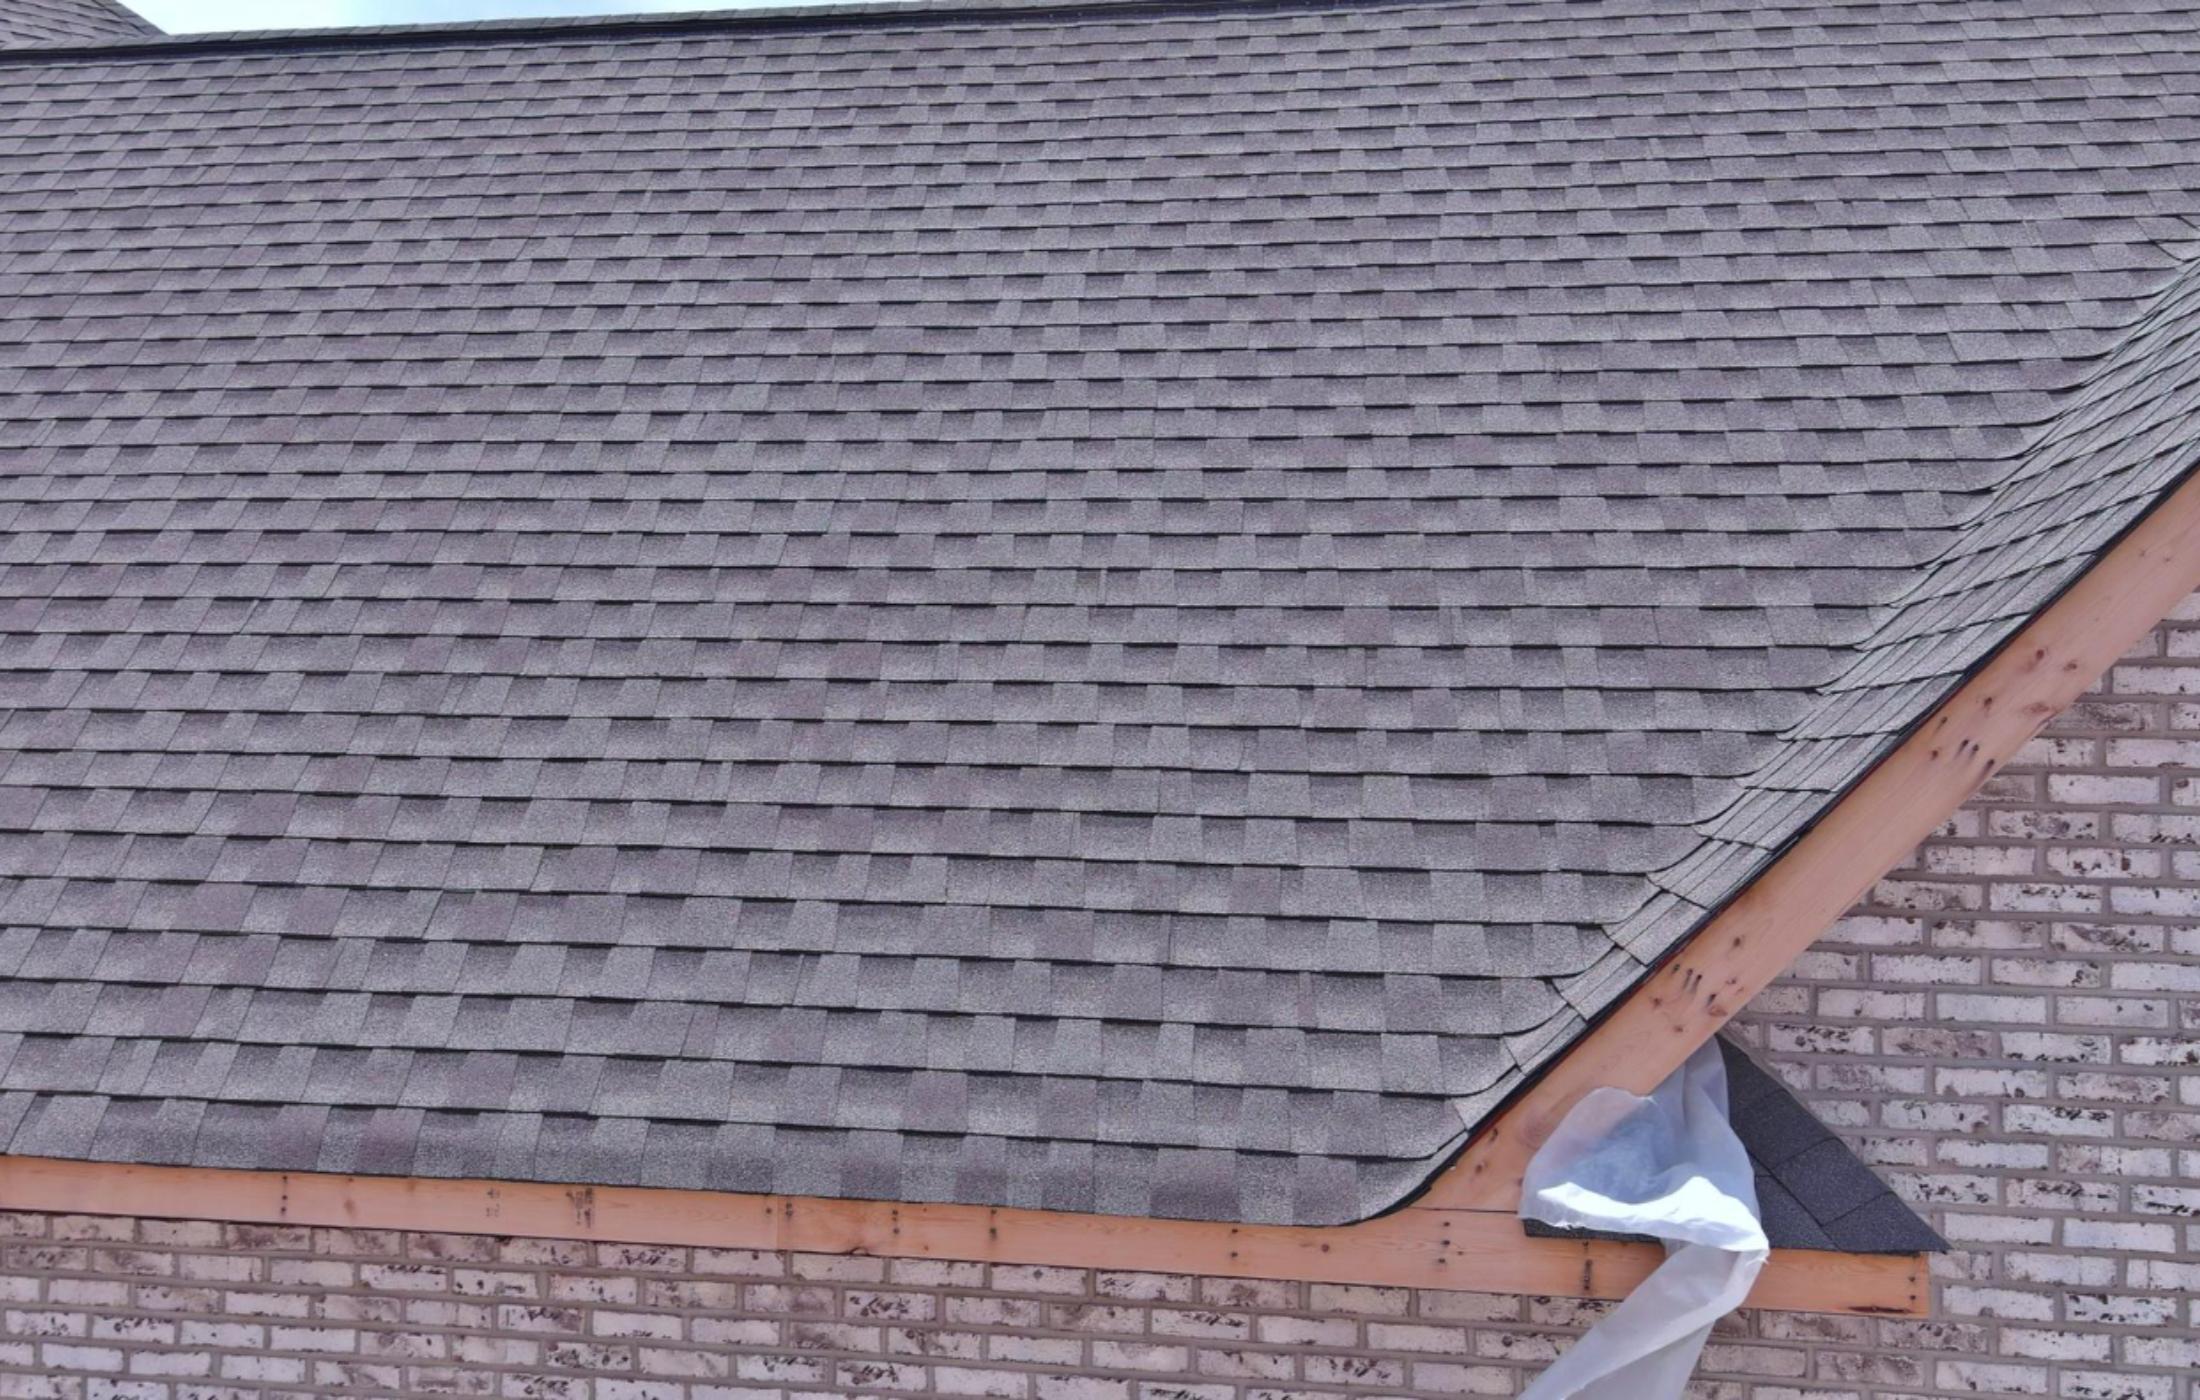
We start every spring inspection by scanning the shingle surface for winter’s telltale signs. Cracked shingles appear where thermal expansion and contraction stressed the material beyond its flex point. Curling edges signal that adhesive strips failed or that moisture got underneath during freeze-thaw cycles.
What we look for:
- Missing or torn shingles that expose underlayment
- Granule loss appearing as bald patches or dark spots
- Lifted shingle edges where wind or ice worked them loose
- Nail pops that create small bumps and entry points
We pay special attention to valleys and north-facing slopes where ice lingers longest. These areas often show accelerated wear because moisture sits longer. When granules wash down in large quantities, we know the protective layer is compromised and UV damage will speed up. The underlayment rarely shows itself unless shingles are already gone, but water stains on attic sheathing tell us when it’s failed. We don’t wait for visible holes to act.
Vulnerable Flashings and Joint Seals
Loose flashings account for most spring leaks we encounter. Winter movement opens gaps at chimney bases, vent pipes, skylights, and wall intersections where different materials meet and expand at different rates.
High-risk flashing locations:
- Chimney counterflashing and step flashing
- Plumbing vent boots that crack in cold temperatures
- Skylight perimeters where sealant dries out
- Dormer and sidewall intersections
- Valley metal that shifts under snow load
We check for rust, corrosion, and lifted edges where flashing pulled away from its sealant bed. Cracked or missing caulking around these details creates pathways for wind-driven rain. We also inspect chimney mortar because freeze-thaw cycles crumble the joints, and compromised masonry lets water behind the flashing itself. One bent corner or small gap can channel water for months before it shows up inside. We treat every flashing detail as suspect until we verify it’s tight and sealed.
Checking for Sagging and Structural Issues
We look at the roofline from multiple ground angles to spot any dips, waves, or low spots that weren’t there before winter. Sagging indicates the decking or framing absorbed moisture or couldn’t handle snow loads, and both scenarios require immediate professional assessment.
Inside the attic, we check rafters and roof sheathing for new dark stains, soft spots, or visible deflection. We press gently on decking near known trouble areas like valleys and penetrations. Wood that feels spongy or gives under light pressure has been wet long enough to lose structural integrity.
Structural warning signs:
- Visible sagging from the ground or inside the attic
- Cracked or split rafters near ridge or eave connections
- Decking that feels soft or shows darker discolouration
- New gaps between roof sheathing boards
We never ignore structural symptoms because they indicate problems beyond surface repairs. A compromised deck can’t hold fasteners properly, which means shingles won’t stay put even after replacement.
Addressing Roof Water Management and Ventilation
Spring weather brings increased rainfall and temperature shifts that test how well your roof handles water and air movement. Proper drainage prevents water damage while adequate ventilation protects against moisture buildup and premature deterioration.
Gutter and Drainage Problems
We often find that gutters become clogged with debris over winter, leading to overflow and water backing up under shingles. Spring is the ideal time to clean out accumulated leaves, twigs, and sediment that restrict water flow.
Check that gutters maintain proper slope toward downspouts. Standing water indicates incorrect pitch or sagging sections that need adjustment. We recommend inspecting gutter attachments to the fascia, as ice and snow can loosen fasteners.
Look for rust spots, holes, or separated seams in older gutter systems. These issues allow water to escape before reaching downspouts, potentially damaging siding and foundation walls. Leaky seams can be sealed with roofing sealant as a temporary fix.
Ensure downspouts direct water at least 1.5 metres away from your foundation. Extensions or splash blocks help prevent water from pooling near basement walls. We’ve seen many spring basement leaks traced back to inadequate downspout drainage.
Soffit and Fascia Condition
Soffits and fascia work together to protect roof edges while providing essential attic ventilation. Spring inspection should focus on signs of water damage like peeling paint, soft spots, or visible rot.
We check soffit vents for blockages from bird nests, insect activity, or paint buildup that restricts airflow. Proper soffit ventilation allows fresh air intake that works with ridge or roof vents to create continuous air circulation.
Fascia boards bear the weight of gutter systems and take direct weather exposure. Look for warping, splitting, or areas where fasteners have pulled loose. Damaged fascia compromises gutter support and allows water infiltration behind the roofing system.
Inspection Around Vents, Chimneys, and Fasteners
Roof penetrations are common leak points after winter freeze-thaw cycles stress seals and flashing. We examine rubber boots around plumbing vents for cracks or deterioration from UV exposure.
Chimney flashing requires careful inspection where metal meets masonry and roofing materials. Look for gaps, rust, or loose sections that allow water entry. Step flashing should remain properly layered with shingles rather than relying solely on sealant.
Check exposed fasteners on metal roofing or installed equipment for looseness or missing washers. Spring’s temperature swings cause metal expansion and contraction that can work fasteners loose over time.